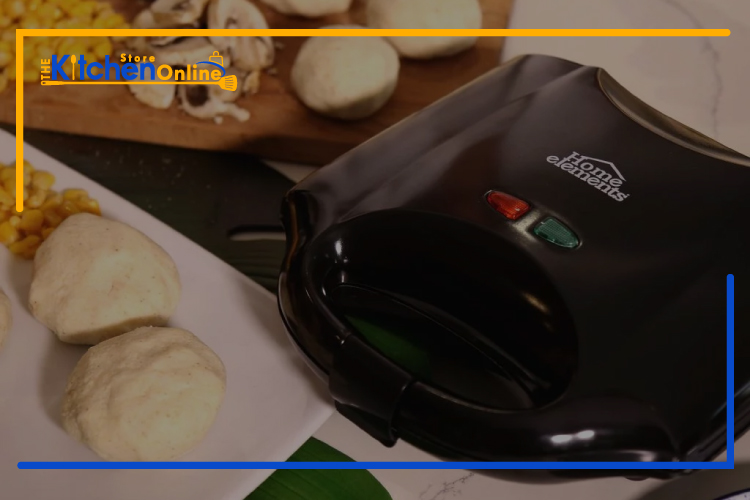
Preparing the tasty food “Arepa” requires a specific maker. But unfortunately, some of us don’t actually know how to use Arepa maker.
Surprisingly, there is no need to earn a lot of skills in order to operate the device effectively. Anyone can get the job done. Did I say “anyone?”
Yep, it’s because by just turning on the machine and placing the dough carefully inside the maker, anyone can prepare this South-American dish with little time and little effort.
Want to get a clearer idea? Well, stick with me, and let me show you all the know-how!
Mechanism and Features of Arepa Maker
Before you start using the machine, you must know its features and how it works. So, let’s have a quick look at the following factors.
1. The Lights
Most of the Arepa Makers include two standard lights at the top of the machine – The Red and the Green ones.
When you plug it in, the red light is going to turn ON instantly. But, the green light will take some time to turn on.
Since the green light indicates that the machine is ready to use, it requires some extra time to start. When you see the light turns on, you can start cooking straight away.
Note: Different manufacturers try out different methods to make their products unique from others. So, ensure to read the instructions first.
2. Temperature Button
Many Arepa Makers have an extra temperature button to maximize and minimize the heat.
Although the temperature is pretty low on this device, you can get the additional advantage of controlling the device the way you want.
3. Base Plates
The plates where you put on the Arepas are non-stick. That means these are pretty easy to serve and clean as well.
Some of the companies out there include portable plates so that you can bake both Arepa and Empanada.
This machine offers equality in terms of cooking both sides of your Arepa. In other words, there are plates on both sides of the device that provides equal heat to the top and the bottom.
Step-By-Step Guide to Using Arepa Maker
How will you make the delicious “Arepa” if you’re unable to operate the maker? Well, considering the matter, I’m going to show you the easy-peasy way of using it. Let’s see:
Step-1: Plug in the Device
Plugin the wires of the Arepa maker to start the machine. This will turn ON the red lights. Then wait for a while for the green light.
After some time, when the machine is ready to use, the green light will appear to be turned ON.
Step 2: Adding Oil or Cooking Spray
When the maker is ready with the green signal, coat the plates with healthy cooking oil or spray on both sides of the plates.
You can spray the oil or sprinkle it in a small amount with your hands. But make sure that you have put on gloves unless you want to make your hands dirty.
Step 3: Placing the Dough
Now, put the pre-prepared dough on the plates of your Apera maker. Also, if you want to cook omelets, put them directly on the plates. After that, lock the machine with the assistance of the safety locks.
Step 4: Time to Wait!
Finally, wait for a couple of minutes until you get the job perfectly done. Voila! Within a short period, the cooking task is completely done. And now you’re ready to serve the dish to your friends and families.
As you can see, using the Arepa maker is very easy, and at the same time, less time-consuming.
The Way of Cleaning Arepa Maker
Cleaning the particular device isn’t rocket science. Anyone can do it without much effort. Since an Arepa maker is non-sticky, the dirt won’t stay for a long time, especially if you clean it appropriately.
As for cleaning up, wipe the plates after you finish cooking with a piece of clean cloth or rag. But, sometimes the odor remains on the Arepa maker which can be disgusting!
To get rid of this, you should add some dishwasher or detergent to a piece of wet cloth. Then gently clean the surface of the interior plates. Be careful while doing this as some makers are unable to handle the water well.
So, if you don’t want to damage the maker, be sure to always read the instructions and stay in a safe zone.
Versatile Usage of Arepa Maker
There are tons of recipes that you can prepare with this multi-functional maker. You can prepare various dishes like pancakes, brownies, omelets, empanadas, and cakes that can be prepared in no time.
The best part of this machine is that the spillage won’t come out of the maker to make your kitchen dirty. And yes, you can easily clean it up after completing your cooking task.
Lastly, I’ll say that this Arepa Maker can make you cook like a pro. The quick cooking method of this device can surprise both your friends and your families. Really, it’s awesome!
Wrapping Up!
So, if you want to make this south-American dish without taking anyone’s assistance, my writing on how to use Arepa maker will be quite helpful to you. And as you can see, the way of using this device is nothing but child’s play!
Are you still having doubts? Hopefully, not!


